Friday, January 9, 2015

Online Review Creation Tools

With semester one coming to a close and finals looming next week, teachers are looking for different ways to create online reviews for students.  There are a number of online tools that let teachers create games or different review formats that students can use to study class content.  Many of the tools have existing quizzes or games created by other teachers that you can tap into and use.  In this blog, I'm only going to look at three of the ones my teachers like and use the most.  Hopefully utilizing one or more of these tools will help you in finding different and engaging ways for students to review your classroom content.


Quizlet
Quizlet is an online tool that allows you to create a review set with matching terms and answers, in a variety of languages.  You can also add images and choose privacy settings to make your reviews public, or only to your classes or specific people.  When students go to complete the review, they have a variety of options for how the content is presented, including flashcards, spelling, taking it as a test, a learning mode, as well as scatter or space race games.  It works well for allowing students to review material on their own, and there are many publicly created sets already made that teachers can access and use.  See the links below for more information and help.

Teacher Overview/Ideas for Using Quizlet
Introduction to Quizlet


Kahoot
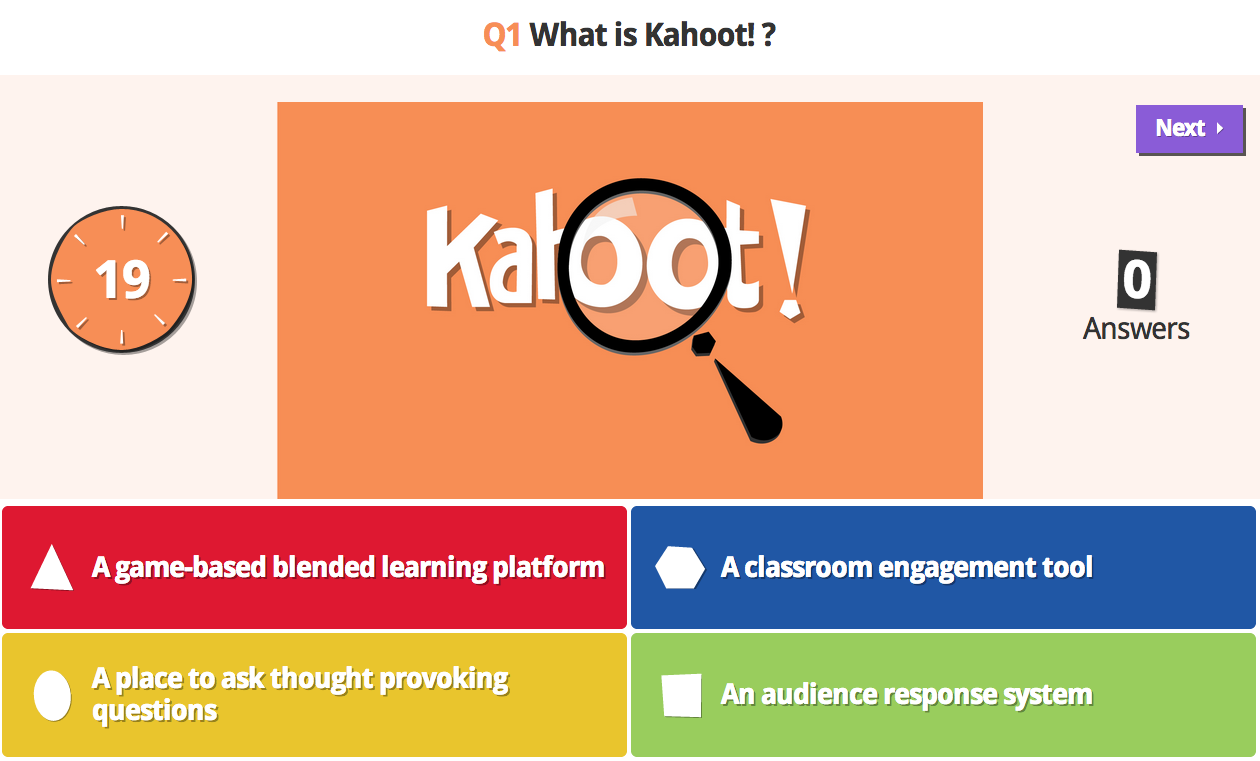
I just did a recent post devoted solely to Kahoot, but I focused on using it as a formative assessment tool real-time in the classroom. However, Kahoot can also be used as a review tool because students can sign up for accounts and create their own Kahoots, and them make them public and use them to review together.  Having students create their own Kahoots is a great way to assess whether they understand the classroom material.  See the links below for more information and help.

Get Kahoot - Link for Student to Sign up to Create Kahoots
Kahoot FAQ Page


Purpose Games
Purpose Games is a web site for learning and having fun at the same time.  Like the other tools, you can create your own games or use ones created by others.  You can create games or quizzes, and make playlists of your favorite games.  The games involve using images and having students identify different parts or areas on an image, or teachers can create standard multiple choice quizzes.  Teachers can also create groups, which makes managing and providing reviews for students easier.  Click on the links below to get started!

Purpose Games FAQs


Friday, December 19, 2014

All Things Youtube


Youtube has become a powerful educational tool lately that can be used in a variety of ways.  While there is always a place for the cat and fox videos that we all love (or hate), it can also be used to post content videos for students to watch, to assist in classroom flipping, or as a resource for students to find, use, and upload their own video creations.  On the surface, Youtube is simply a platform to post and share videos.  However, there are a variety of options and features that make it much more. Below you will find directions for uploading and editing videos, including increasing the 15 minute per video limit, subscribing to channels, creating and sharing playlists, and downloading Youtube videos.  The options are endless!

Uploading Videos:

  • Teachers and students can post videos to Youtube and share them.  One issue some teachers have run into is the 15 minute limit set on our school Youtube accounts.  However, that limit can be increased by following the directions below from the Youtube Help Site: Increasing Your Youtube Limit
  • Additionally, students can upload their own videos by following these directions: Uploading to Youtube.  
  • Once you have uploaded videos to Youtube, you also have the option to edit those videos, right in Youtube.  This video has instructions and help for editing your videos in Youtube.


Along with uploading videos, you can create and have students subscribe to your Youtube channel, making sharing classroom videos easier, or you yourself can subscribe to channels of interest to you.  For instance, Fargo Public Schools has an informative and helpful Youtube Channel with technology help videos - check it out here!
If you prefer not to access a complete channel or to create your own videos for classroom use, you can also create your own playlists, which are a collection of videos you choose and organize.  This works well if you use a variety of videos that you show in class or have students watch and you want to keep them organized and handy.  See the links below for videos on how to use channels and playlists.
     How to Subscribe to Channels
     How to Create and Share Playlists

See all the videos on the Youtube Help Channel here.

Downloading Youtube Videos and Audio

There are a number of ways to download videos from Youtube and options for downloading entire videos or just the audio of a video.  Students will often want to take short clips from videos to use in class projects, and the following sites allow for that.  This is also very helpful if you want to access a video later when you don't have internet access, or as a safety if you are planning to show a video in class, in case something isn't working (we all know the day you want to show a video is the day all it will do is buffer and not play).

  •      Keepvid: This site allows you to download videos from a variety of sites, including Youtube.  Simply copy and paste the video link in the box at the top of the page and click Download.  The site will provide options for downloading in a variety of formats, including video or audio only.
  •      Clip Converter: This site is another options for downloading online videos, or for uploading and converting the format of a video you have saved on your computer.  To download, simply paste the link and click continue.  Similar to Keepvid, you will get a list of options for downloading, including audio only.
  •      Youtube to MP3: This is one I recently leaned about from students, where you can again use the link to a Youtube video and convert it to an MP3 file that can be downloaded.  This is an easy way to get just the audio from a video or to get music that students can then use in presentations or classroom projects.  There is a variety of public domain music available on Youtube that students can use.  


Friday, December 12, 2014

Are You in Kahoot!?


Formative assessment is a big topic around here and a focus this year, so this blog post will focus on another formative assessment tool called Kahoot.  Kahoot is a student response system that allows teachers to create pre-made quizzes, discussions, and surveys, which can then be done interactively in class.  The site adds a game-like quality to the formative assessment, making more fun and interactive for students.

Teachers can create their own Kahoots (quizzes, discussions, or surveys) or use ones other teachers have created and made public.  After completing the activity teachers can receive a summary report that provides information about each student and the class as a whole, including a breakdown by question on how the students did during the activity.  This can help teachers evaluate later individual students who may need more attention, or topics that they may need to reteach.

See the videos below for more information on using Kahoot!

Introduction to Kahoot for Classroom Assessments
Get Kahoot  - link to site for teachers to sign up
Kahootit! - Link for students to participate in an assessment


Friday, December 5, 2014

Video Creation

There are a variety of tools available online, as software, and as apps that can be used for video creation. Some, like Windows Movie Maker, we have had access to for years on our school computers and most teachers and students are fairly familiar with.  Others, only a few teachers have ever tried, and still others are completely new to us all.  This blog post will cover a couple of tools that are not as frequently used in our school or that have specific features that make them unique.


Zoetrope is actually at Windows 8 app that is available for install on our student devices and teacher computers that have Windows 8.  This app is a great choice for creating stop-motion movies for classroom projects.  The app makes it easy to take pictures and provides an overlay of the previous image, making it easier to create the stop-motion effect.  Once the images are completed, it is easy to save the video and then share it with others, or put it into another program such as movie maker to add more effects.  A couple of our math teachers recently used this app to have students create stop-motion videos about trig functions and it worked really well.  Overall, what makes this app appealing is that it is easy to use.  See the links below for more information on downloading and using the app.

Zoetrope App in Windows Store
Directions for Students for Downloading an App on their PLDs
Directions for Using the Zoetrope App


Stupeflix is a website that is great for classroom projects with younger students, students who aren't as technology savvy, or when you want a fast and easy option without a lot of bells and whistles.  Stupeflix lets students create videos using a premade theme that they choose (and there are only two free options to choose from), and then students add in their own pictures or videos to use.  There are a few features like being able to add a title and credits, or adding text overlay on an image, but there are no frills or extras with those features.  Additionally, music or audio can be added to the project, and the site provides a database of free music that can be used, or the students can upload music or audio recording.  Once a video is finished, it is easy to complete and share.  The biggest benefits of this site are how easy it is to use and that younger students or those without strong technology skills can still create videos.  We recently used this site with our ELL New Americans class where they created videos about their learning styles and likes and dislikes.  The limited options worked well because they were able to focus on the content and ideas instead of getting caught up in how to use the technology. Click the links below for more information or to access the site.

Stupeflix Website
Directions for Using Stupeflix
Link to Stupeflix Youtube Channel - How-to and Example Videos

Friday, November 21, 2014

Voice Feedback for Student Assignments and Peer Editing Using Kaizena


The English teachers in my building approached me recently looking for an easy way for students to give each other feedback on writing assignments, and in particular they wanted a tool that would allow for voice feedback. For years we have told students to read their papers aloud or have someone else read it aloud in order to hear whether the sentence fluency or word choice needs work.  However, the teachers wanted a way to assign students to be able to do this and to give each other feedback and for teachers to more easily be able to track that.

We started using Kaizena, which is a tool that works with Google documents and allows students to provide feedback to each other, or for teachers to easily provide feedback to students on assignments.  This is not just a peer editing tool, although that was how we started with it, but teachers can also use the tool to easily give feedback.  Additionally, the tool can be used as an app in Google Drive, which allows for the benefits or the full website, or as an add-on in Google docs, which makes it easier and more streamlined for students.

The Kaizena add-on only has to be installed once, and from there it can be used on any Google doc.  Teachers or students can use it request feedback from someone else or to provide feedback.  Feedback can be given in the form of audio comments, text comments, or links, which is a great way to provide additional resources to students.  Additionally, tags can be used for those comments or corrections that seem to happen over and over, saving time by not having to retype or write the same comment every time.  The Kaizena website allows for more robust organizing multiple papers or from multiple class periods, and can help teachers with the organization of assignments and feedback.  Overall, this tool can make providing feedback to students or having students peer edit a much easier process. Check out the directions below for more help on accessing and using the app or add-on.

Directions for adding and using the App in Google Drive

Directions for adding and using the Add-on in Google Docs

Friday, November 14, 2014

Infographics

With the increase of visuals in the classroom and attempting to more fully engage students in creating and using presentations in the classroom, infographics are an easy way to have students present information or create visuals to use in classroom presentations and projects.  Infographics are a visual representation of data, and having students create them draws on a number of skills and literacies.  There are a number of tools that allow for the creation or use of infographics in the classroom, but I chose to stick with the two that I find easiest and most familiar.


My favorite tool for creating infographics is called easel.ly.  In easelly you can reuse public infographics or create new ones from scratch.  You can use premade themes or create your own infographic from a blank slate.  There are a variety of options for backgrounds, text, charts, images, and other objects you can add to your infographic.  You simply drag and drop different elements onto your canvas and arrange them how you like.  They are easy to create and add information to, and when you are finished your inforgraphic can be saved, shared, or downloaded.  Check out easelly and start creating your own!


The other tool that students can use to easily create an infographic is infogr.am. Infogram has very similar features to easelly but focuses more on interactive charts and graphs.  Again, creation is easy using premade themes and then adding your own personal information to it.  There are a variety of chart types you can choose from and a myriad of ways to visually present your data.  You can add charts, maps, text, images, and video.  When you are finished, you can publish your infographic online, embed it into a website, or share the link.

Overall, infographics can be a neat way to challenge students to visually present information in the classroom, useful in presentations and projects, and help explain concepts and terms to students who may better understand concepts with a visual representation.  For more information on infographics and using infographics for assessment, check out Kathy Schrock's Guide to Everything on Infographics.

And if you're still not sure what exactly an infographic is or what purpose it can serve, check out the infographic below on what an infographic is (I saw this on another blog that I frequently visit, Free Tech for Teachers, when I first learned about infographics and found it helpful).


Friday, November 7, 2014

Google Drive on Your Computer


So one of the problems I have trying to convert everything over to Google is that I have a lot of documents that I have made in Word or Adobe or other applications that do not convert well when I upload them to Google or that I want to keep in the original format so that I can still work on them in Word or wherever.  So my solution has been to use the Google Drive Client available on our computers.

What the Google Drive Client does is download Google Drive onto your computer and then sync it with your online files.  What this means is that if I have a Word document, I can save it as a Word document directly into that folder.  It then syncs online so it is still backed up in the cloud.  So if anything ever happens to my computer, I can still access all of my documents and I don't lose anything.  For those of us here at Davies, think about it like your H drive, just syncing online to Google instead of to the district servers.

Another benefit of this is that I can open these documents from Google Drive on my computer, and they will open in the correct program (ex. Word), and I can work on them there, save them as normal, and the changes save online, too.  Additionally, if I am not on my work computer, I can still access all of those documents online through my Google Drive there, and download them if I need to work on them (of course, that means I have to upload them again when I am done, but the benefits of anywhere access outweigh the inconvenience since that rarely happens).

So if your H drive is full and you have been toting around a huge external hard drive or trying to back-up all of your teaching materials to a bunch of flash drives, look into utilizing Google Drive for your computer.  With 30GB of storage, it will take a while to fill it up (compare that to the 1.5GB your H drive probably has).  The videos below show you how to install the Google Drive Client from the software center (if you have a new Windows 8 computer it is already installed and you can just open the app), and how to access and use your files once you have it downloaded.  See the library if you have questions or need help!

Google Drive Client Install through Software Center